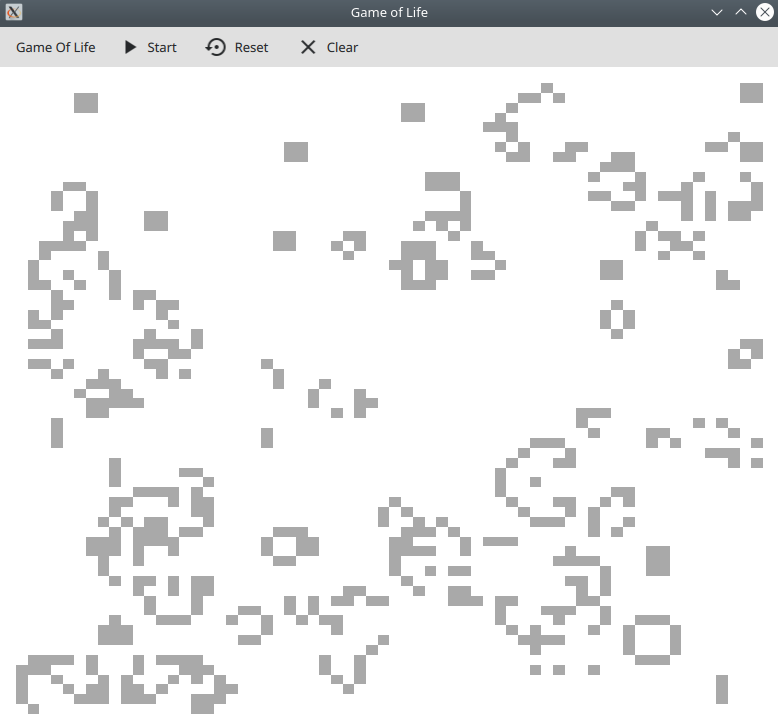
This is a tutorial aimed at Qt beginners showing how to use a QtQuick TableView in connection with an underlying C++ data model.
Tables are a standard element needed again and again in UI projects. Luckily QtQuick received a brand in TableView in a recent update. This tutorial will show you how to use it in connection with a C++ data model subclassing QAbstractTableModel. The full code to this tutorial can be found on Github.
In order to display a table and fill it with data you need three elements in your code:
- A TableView item in your layout that represents the table itself
- A delegate that defines how the tables content is displayed
- A data model that holds the data and exposed it to the TableView
The TableView used in this example is straightforward and looks like this:
    TableView {
        id: table
        anchors.fill: parent
        anchors.margins: 16
        model: tableModel
        interactive: false

        onWidthChanged: forceLayout()
        onHeightChanged: forceLayout()

        delegate: Item {
            implicitWidth: table.width / controller.columnCount
            implicitHeight: table.height / controller.rowCount

            Rectangle {
                anchors.fill: parent
                color: model.alive ? "darkgrey" : "white"
            }

            MouseArea {
                anchors.fill: parent
                onClicked: tableModel.select(model.index, true)
            }
        }
    }
It consists of the TableView itself that fills it’s parent. It uses a model that is exposed to the QML engine as a property as we will see later.
Inside the TableView it’s delegate is defined. This is another Item consisting of a colored Rectangle and a MouseArea to allow for some interaction.
The TableView gets it’s data from an instance of QAbstractTableModel defined in C++. Since this base class is abstract a few methods that define the tables behavior have to be overwritten:
int rowCount()– the number of the table’s rows / table’s heightint columnCount()– the number of the table’s columns / table’s widthQVariant data()– the member function to access the table’s data
In this example all cells are equal as per Game of Life’s rules. Each cell can either be alive or dead, so each cell can be represented by a boolean variable.
I created a Cell class that contains three booleans. The current state (alive), the future state used during the game step update (future) and a currently unused selection state for user interaction:
class Cell {
public:
    bool alive = false;
    bool selected = false;
    bool future = false;
};
The table is initialized using the following code. Note the calls to beginResetModel() and endResetModel()at the beginning and end of this function. These tell the TableView when the data model changes and an update in the UI is required.
void TableModel::init(int rows, int columns)
{
    qDebug() << Q_FUNC_INFO << rows << columns;
    beginResetModel();
    cells.clear();
    for(int row = 0; row < rows; ++row)
    {
        QList<Cell> currentRow;
        for(int column = 0; column < columns; ++column)
        {
            Cell cell;
            currentRow.append(cell);
        }
        cells.append(currentRow);
    }
    endResetModel();
}
In this example a Controller class is added that holds and manages the table model. The controller is responsible for calling the update steps based on a QTimer timeout and hold the overall application state. Both controller and model are registered with the QML engine as context properties:
QQmlApplicationEngine engine;
    engine.rootContext()->setContextProperty("controller", &controller);
    engine.rootContext()->setContextProperty("tableModel", controller.getTableModel());
This is it, basic tables in Qt are not hard. More complex tables can be built using the builtin roles scheme that allows cells to expose multiple kinds of data. This will be part of another tutorial.